Step-by-Step Guide: How to Test Your Car’s Distributor
June 5, 2024 | by Team Neftin Mazda
Hey folks, ever been rooting around in your stash of spare parts and stumbled upon an old distributor? Well, I recently found one in my pile, and I thought, why not put it to the test and share the process with you all? Today, I’ll walk you through how to test a distributor using just a few basic tools – some wire, a 12-volt test light, and a trusty 12-volt car battery.

So, let’s dive into it. First off, what we’re dealing with here is a GM HEI distributor, a pretty common piece used in various cars from around 1975 up until fairly recently. Despite its ubiquity, it’s known for its reliability. But if it’s sitting in your junk pile or you want to ensure the one in your car is still in good shape, testing it is key.
Now, let me break down how this thing actually works. At its core, the distributor is essentially a ground pulse generator. You’ve got battery voltage coming in, and as the distributor rotates, the pickup coil inside generates pulses. These pulses create the magic that keeps your engine firing on all cylinders.
Okay, let’s get down to business. Here’s what you’ll need to do:

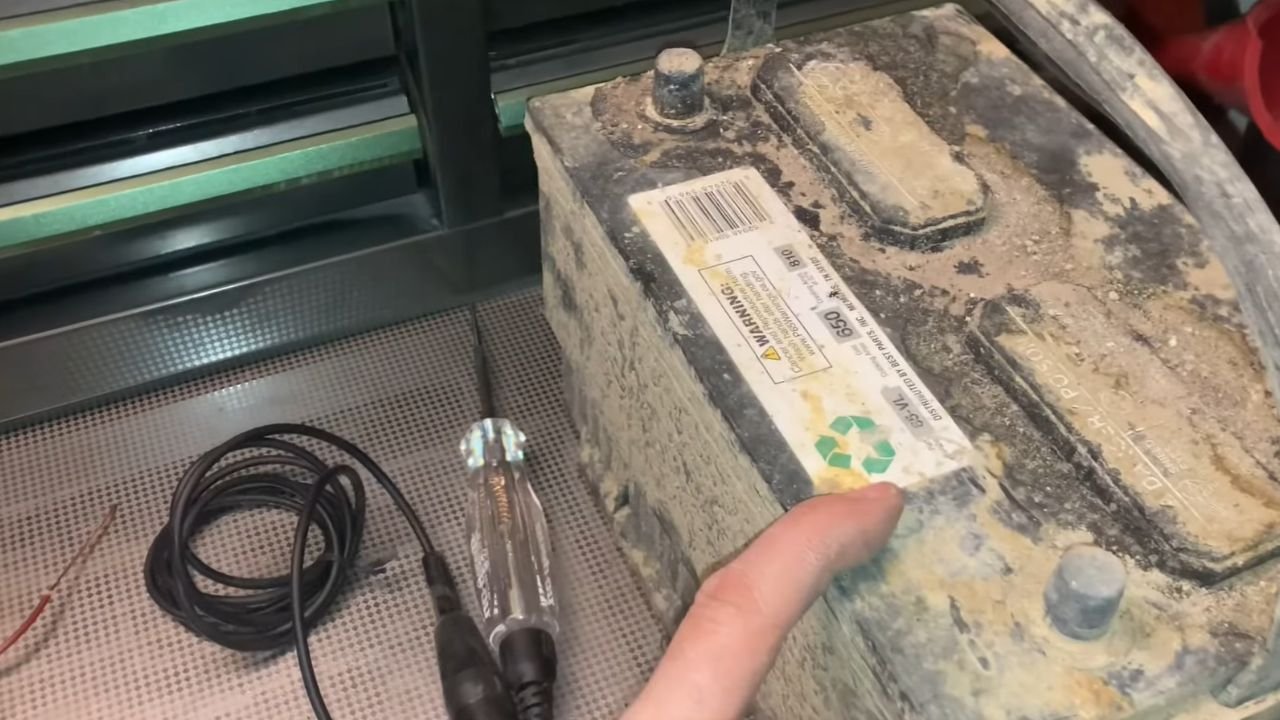
- Hooking Up the Distributor: Start by identifying the battery (B) and ground (C) terminals on the distributor module. Connect a wire from the battery terminal to the positive terminal of your car battery. Then, connect another wire from the ground terminal to the negative terminal of the battery. This essentially powers up the module, simulating the ignition being turned on in your car.
- Testing for Ground Pulses: Grab your 12-volt test light. Connect one end to the positive terminal of the battery and the other end to the C terminal on the distributor. Now, when you spin the distributor, the test light should blink in rhythm with the rotation. This indicates that the pickup coil is generating the necessary ground pulses.
But wait, there’s more to ensuring your distributor’s in top shape! Often, the distributor cap is suspect. Inspect it carefully to see how the sparks are arcing. The internal and external surface of the cap should be clean, free of erosion, rust, or corrosion. Also, check the rotor – the point where high-tension spark moves from one distributor cap terminal to another – it must be in pristine condition.
Sometimes, the issue lies in a slight buildup of carbon inside the distributor, which can affect performance by conducting electricity and causing a faulty connection. So, look for any cracks or carbon traces in the cap.
Now, onto the contact points. Inspect the condenser – if it’s broken, the engine won’t function properly. Check the contact points for corrosion or degradation. Bad connections here can cause various engine issues like timing problems or misfires.
To round it off, pull a plug wire off the distributor and test each one. Use a screwdriver to check the arc while the ignition is turned on. Each wire can be checked in this way to expose any misfires or faulty connections in the distributor.
If you find any issues, it might be time for a distributor replacement. Don’t worry; this repair should be simple enough for most car enthusiasts.
Before you start, make sure you have the necessary tools and materials:
- White out
- A rebuilt or new distributor
- A flathead screwdriver
- Points
- A point gap tool
- A socket wrench
- A ¼” hex socket
To replace the distributor, crank the engine to get the timing mark on the crank pulley to its top dead center (TDC) mark. Then, remove the old distributor, set the point gap, and carefully set the new distributor in place. Take your time to ensure everything lines up correctly.
Once everything’s set, fire up the engine and listen for any hesitations or misses. If all sounds good, congratulations – you’ve successfully completed the replacement of the engine distributor.
And there you have it – a comprehensive guide to testing and replacing your car’s distributor. If you found this guide helpful, be sure to hit that subscribe button for more tips and tricks. Thanks for joining me on this journey, and until next time, happy testing!
RELATED POSTS
View all

Tesla Roadster 2025: The Ultimate Electric Supercar is Finally Here
September 30, 2024 | by Team Neftin Mazda

2025 RAM 1500 RHO: Does It Surpass the Legendary TRX V8
April 28, 2024 | by Team Neftin Mazda

Do Mazdas Hold Their Value?
April 3, 2024 | by Team Neftin Mazda